


A Complete Guide to Astar Airdrop
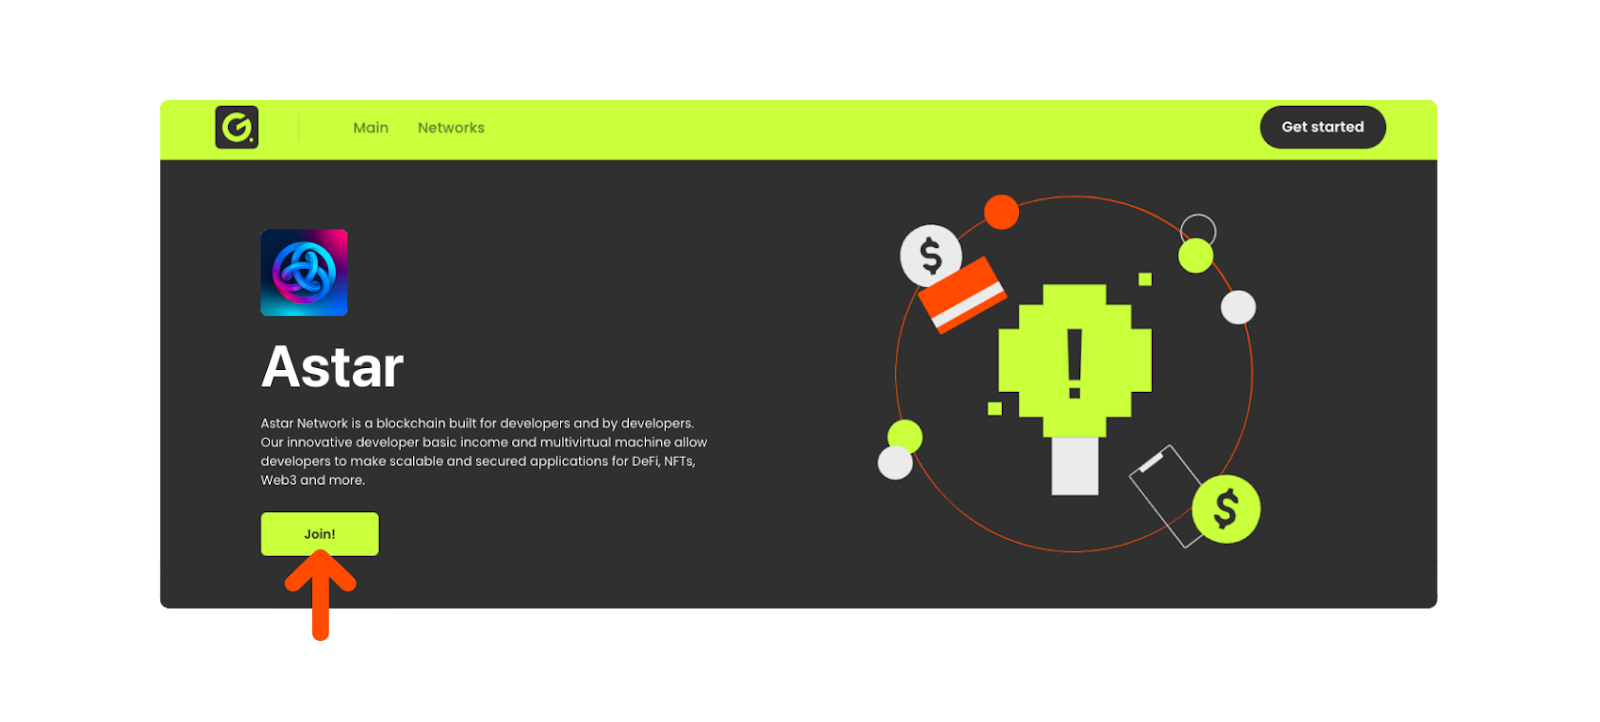
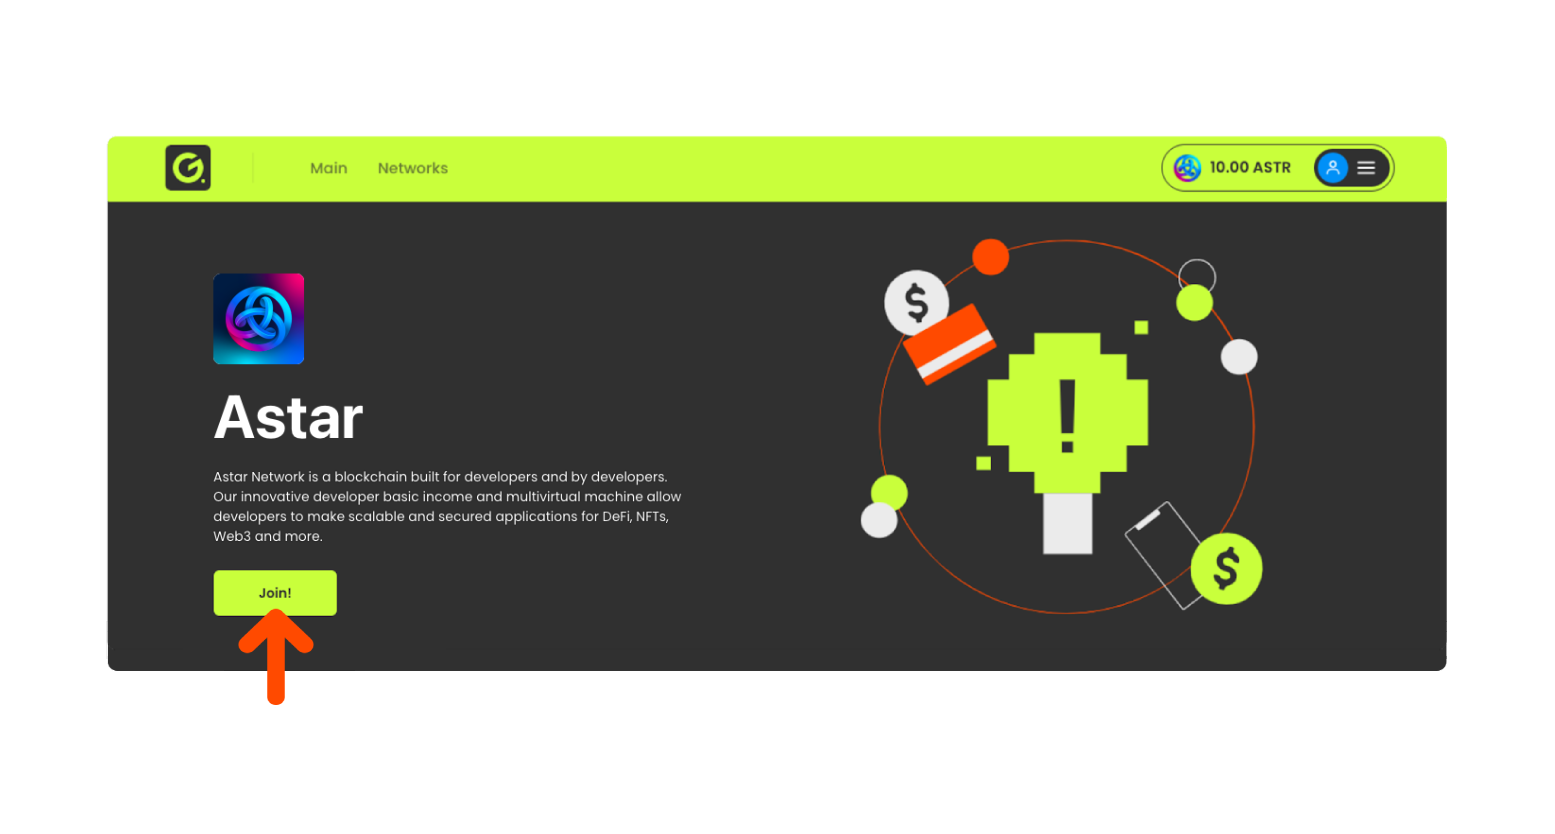
1. Go to the Astar claim page and click <Join>. If you’re already logged into Grabber, skip to step 9 in this instruction.
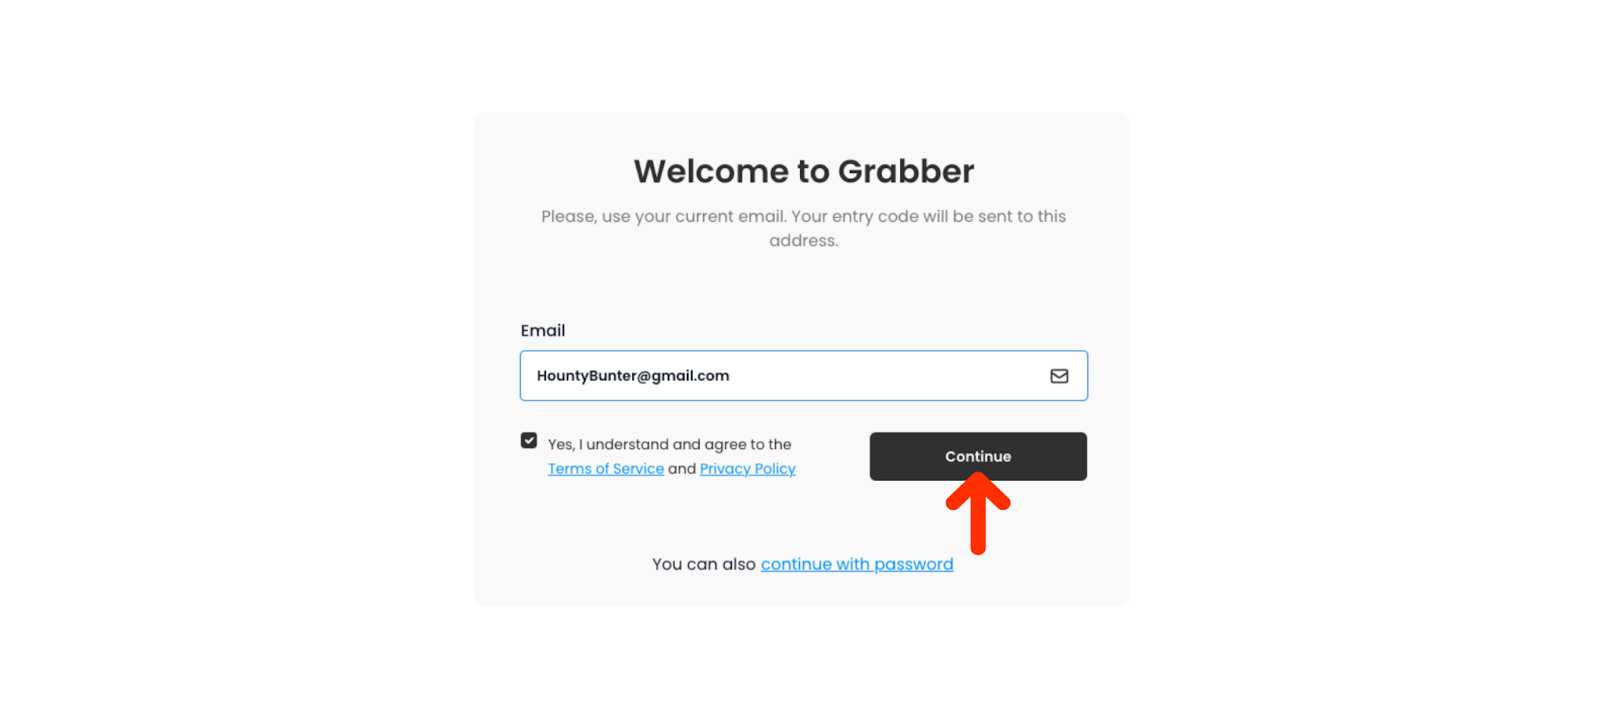
2. After that you’ll be transferred to the authorisation page. If you’re new to Grabber, enter your email address and check the box to approve Terms of Service and Privacy Policy.
3. Check your email inbox for a message with the authorisation code. If it isn’t in your Primary inbox folder, check <Social> or <Spam>.
4. Enter your code.

5. Set up your password. Click <Save and Start>.

🥳 Yay! You now have an account in Grabber!
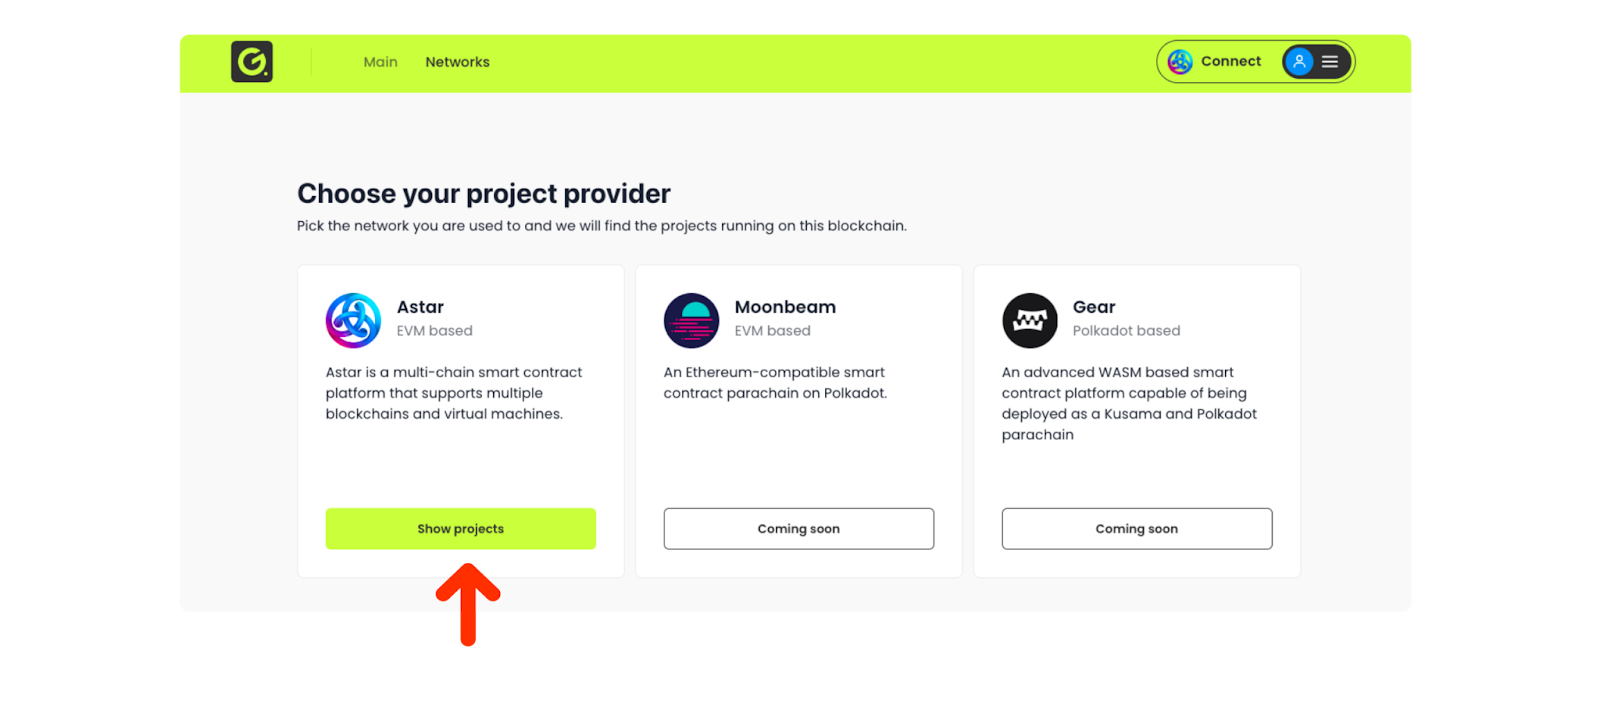
6. Find <Astar> on the <Choose your service provider> page. Click <Show Projects> button below Astar.
7. Scroll down the page to find <Astar>. Check the project info and click <View Details>. Nice. You’re almost there!
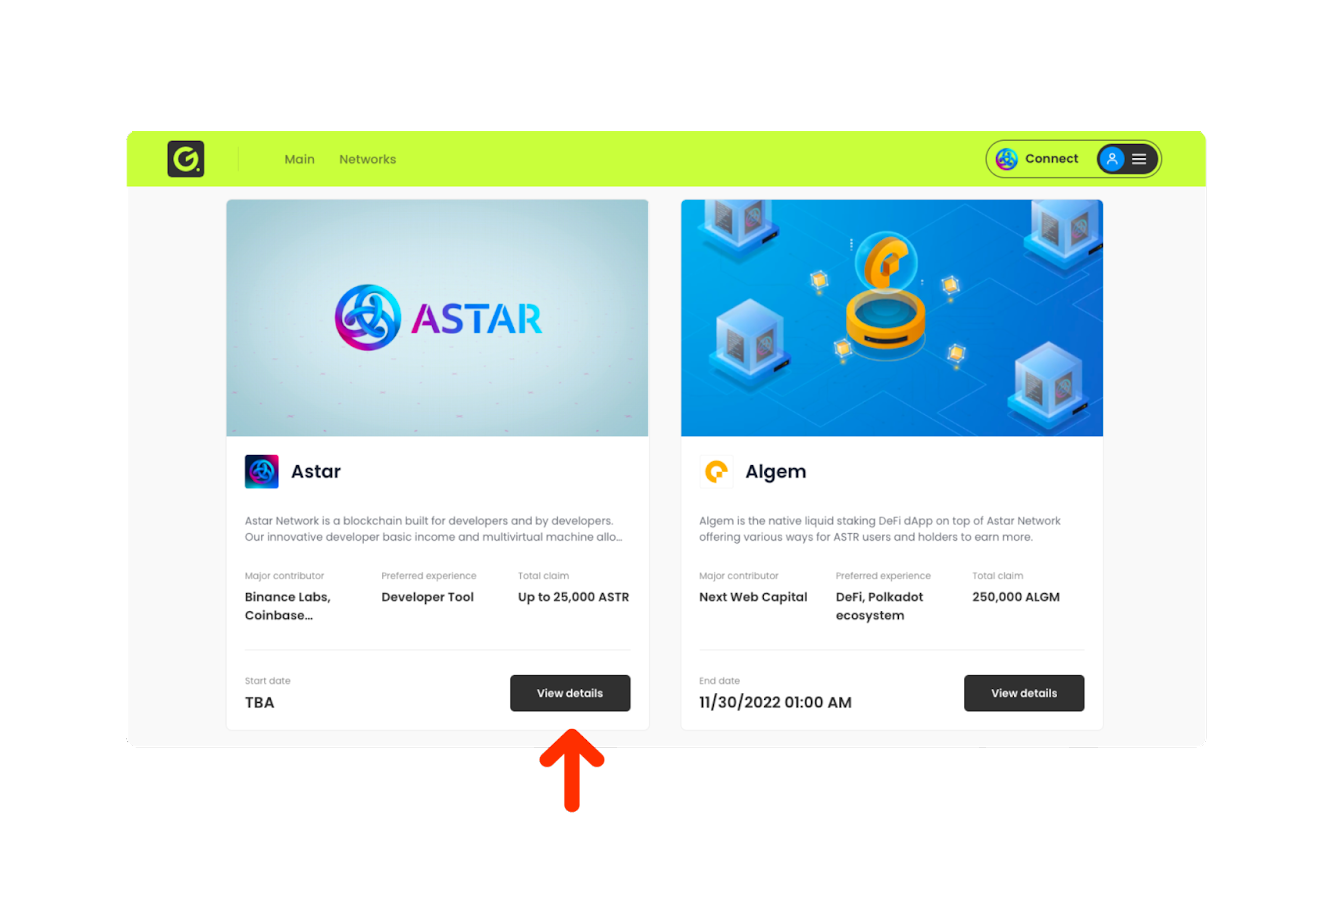
8. On Astar’s page click <Join>.

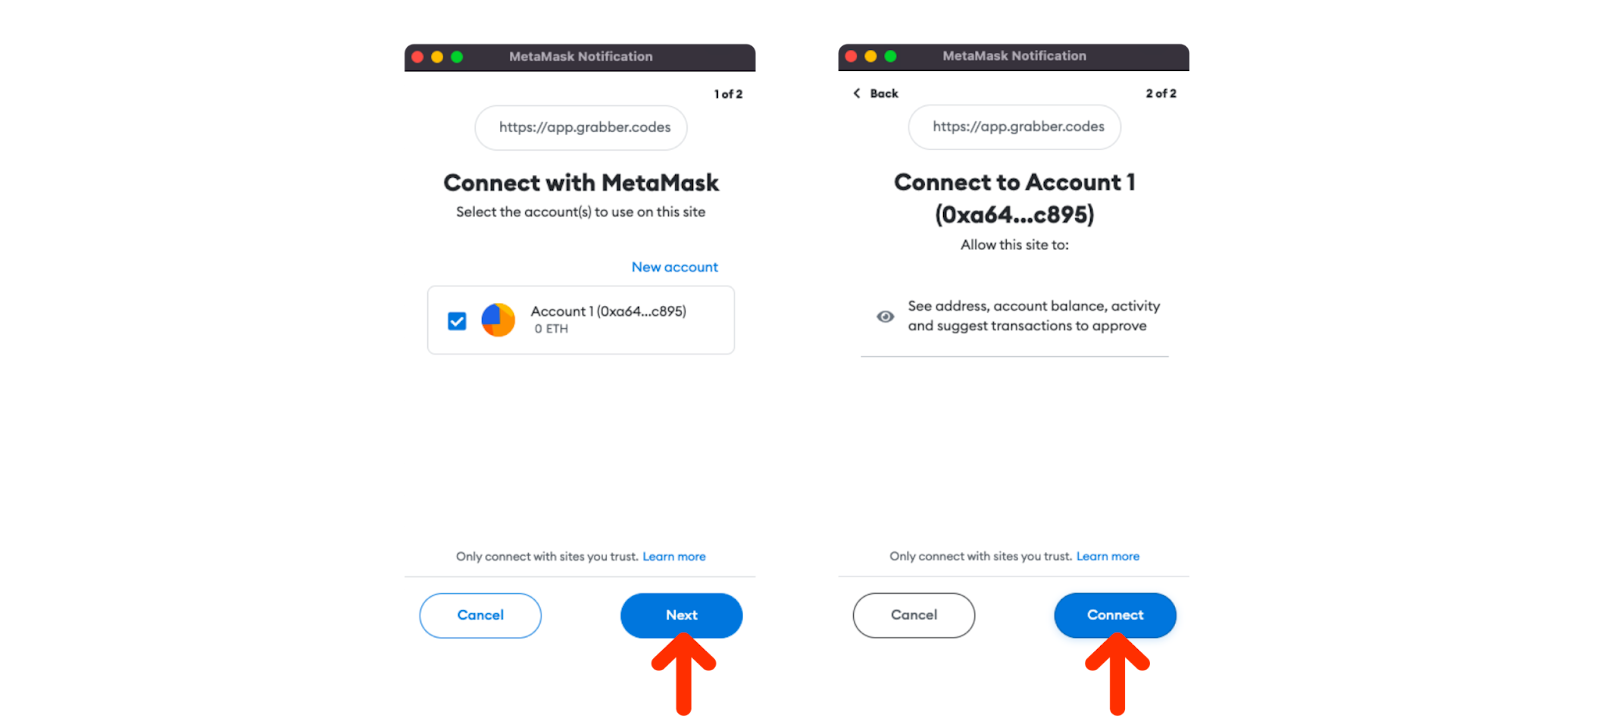
9. Connect your wallet.

📱 Note for mobile users: Grabber’s mobile version has gone through its most extensive testing with Metamask wallets and therefore is most optimized for use with Metamask. If you’re using iOS on your mobile device, it is also advised to use Safari web browser.
10. Log into your wallet, click next and approve the connection.
After logging into your wallet you may see the <Wrong Network> indicator in Grabber, if you haven’t chosen <Astar> as your network.

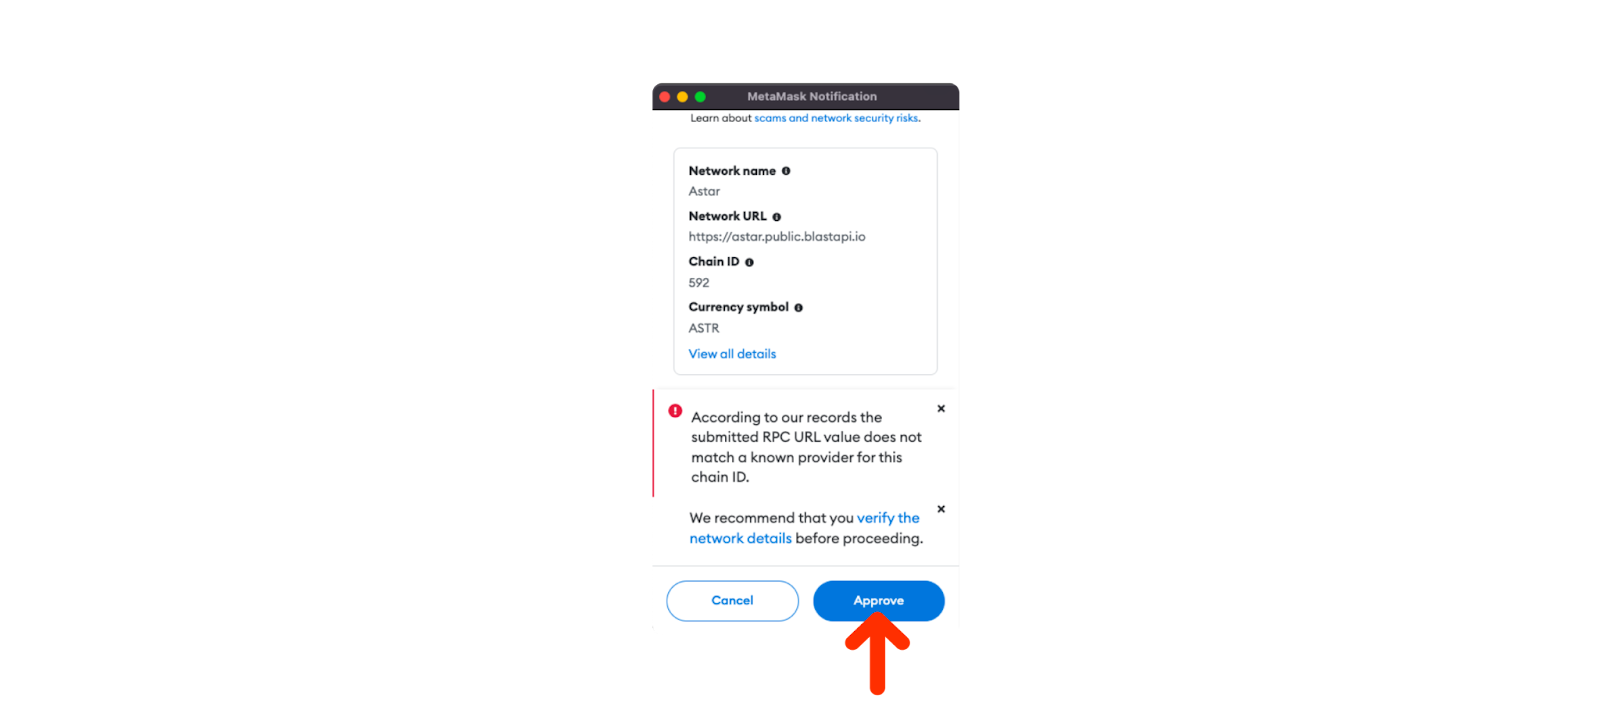
Click on <Wrong network Indicator> Grabber will then suggest switching your wallet to Astar network. Click <Accept>.
❗️ Make sure your wallet is switched to Astar Network (EVM) to proceed with your claim. If the switch doesn’t occur automatically, try reloading your page.
Please note, that Astar claim will be conducted on Astar’s EVM chain and not on Astar Mainnet (Native Chain).
To proceed with your claim the network indicator in your wallet should look like this:

❗️Note: Making a claim requires you to pay a transaction fee. It is important for you to have enough $ASTR in your wallet for Gas. The fee is volatile, but it is advised to have at least 0,001 $ASTR for Gas/transaction fees.
If you have your balance displaying on Grabber and you have sufficient $ASTR tokens to proceed with a claim, please skip to step 11.
If you don’t own any $ASTR, CoinMarketCap has a variety of trading platforms for acquiring Astar Tokens.
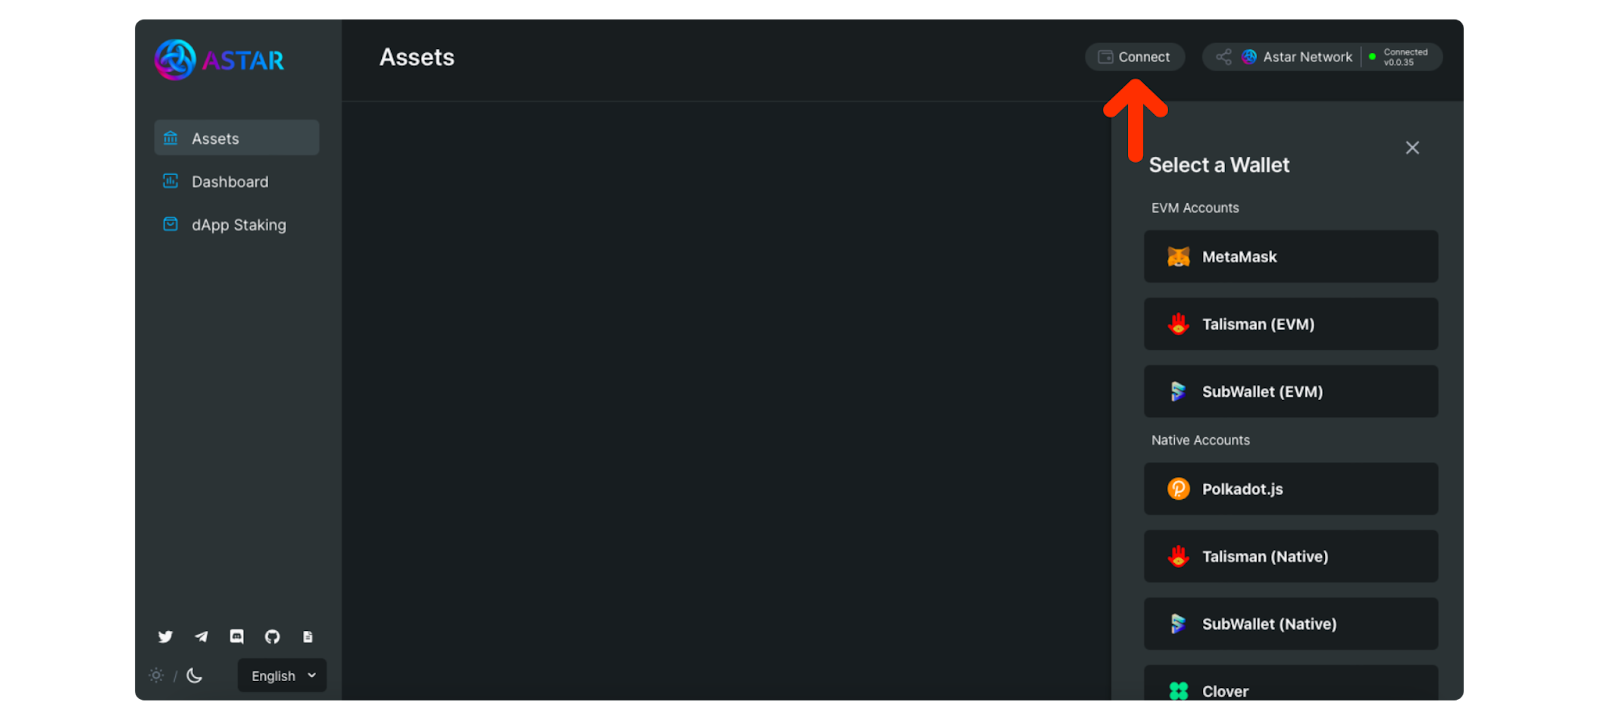
10. 1 To transfer $ASTR tokens from Native Astar chain (from Polkadot.js) to EVM Astar chain, please visit Astar dApp on portal.astar.network.
10. 2 Click on <connect> on the top right of the app and connect your Polkadot.js wallet to Astar’s dApp. The process is similar to connecting Metamask.
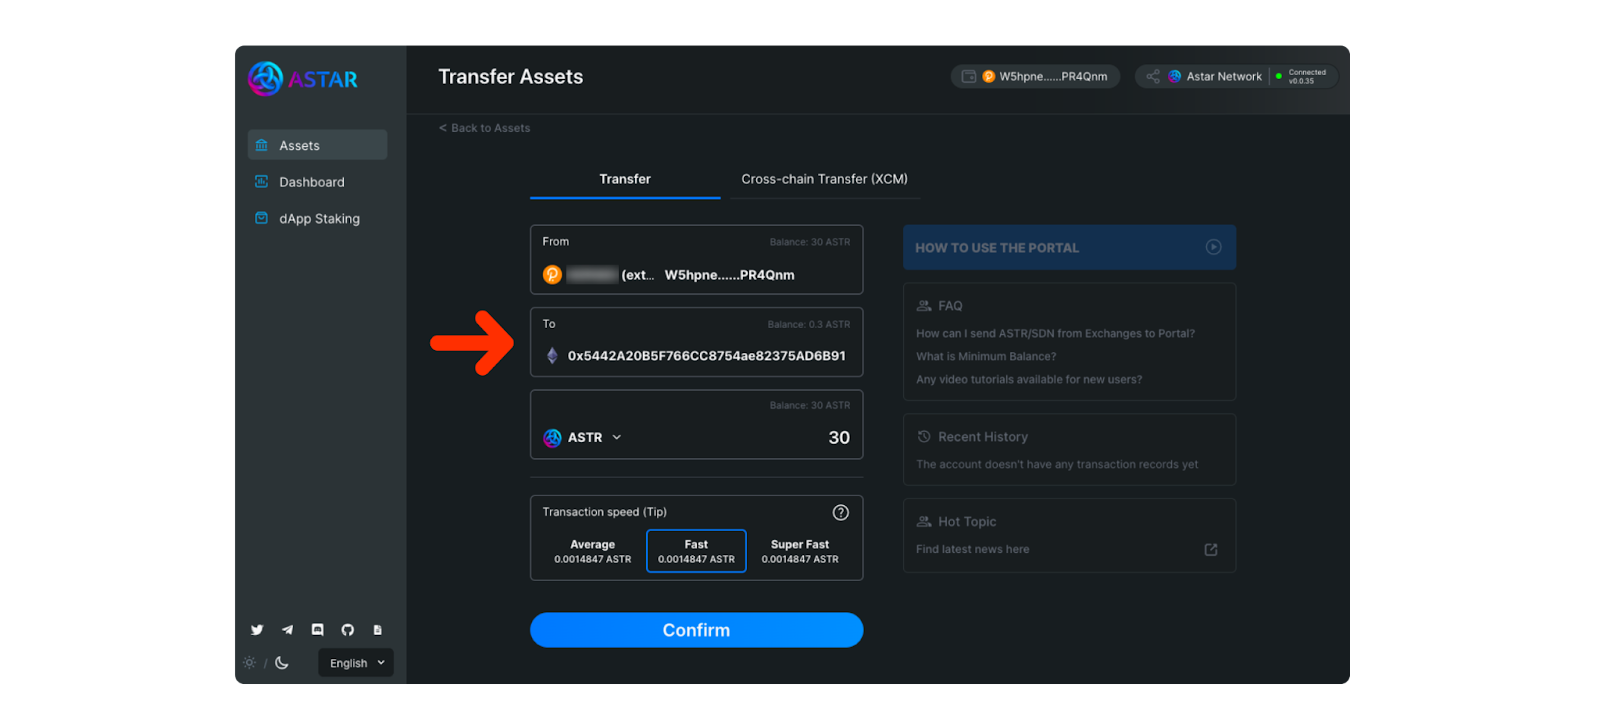
10.3 Scroll down the <Assets> page to the Astar network and click <Transfer>.

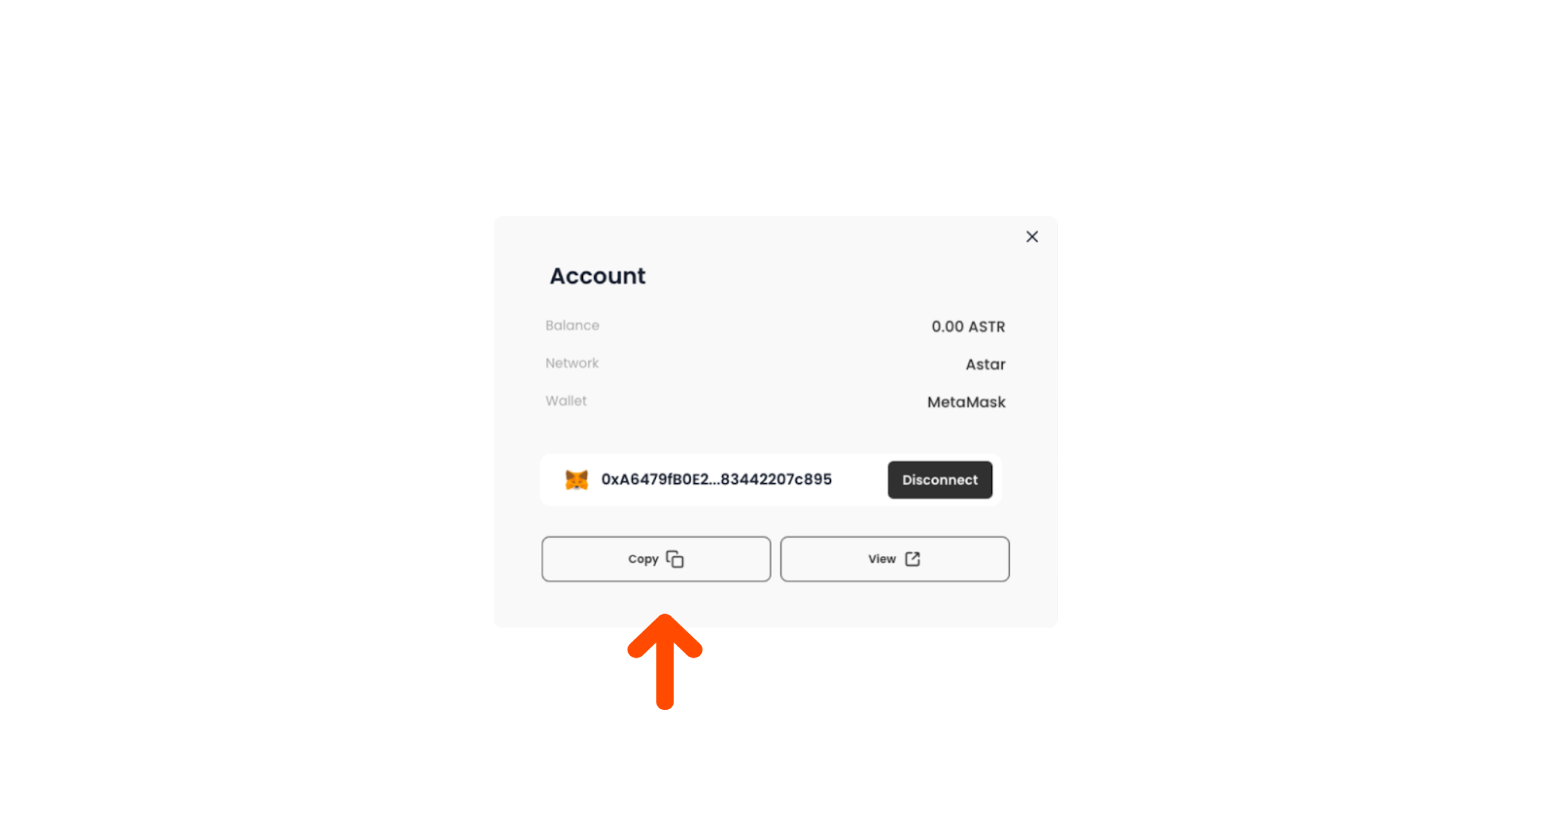
10.4 Go back to Grabber’s website and click on your wallet. Copy your wallet’s address.
10.5 Enter your EVM wallet address into the <To> field and enter the amount of tokens to Transfer. Keep transaction fees in mind! Otherwise your transaction will not be processed, but your fee still will be withdrawn.
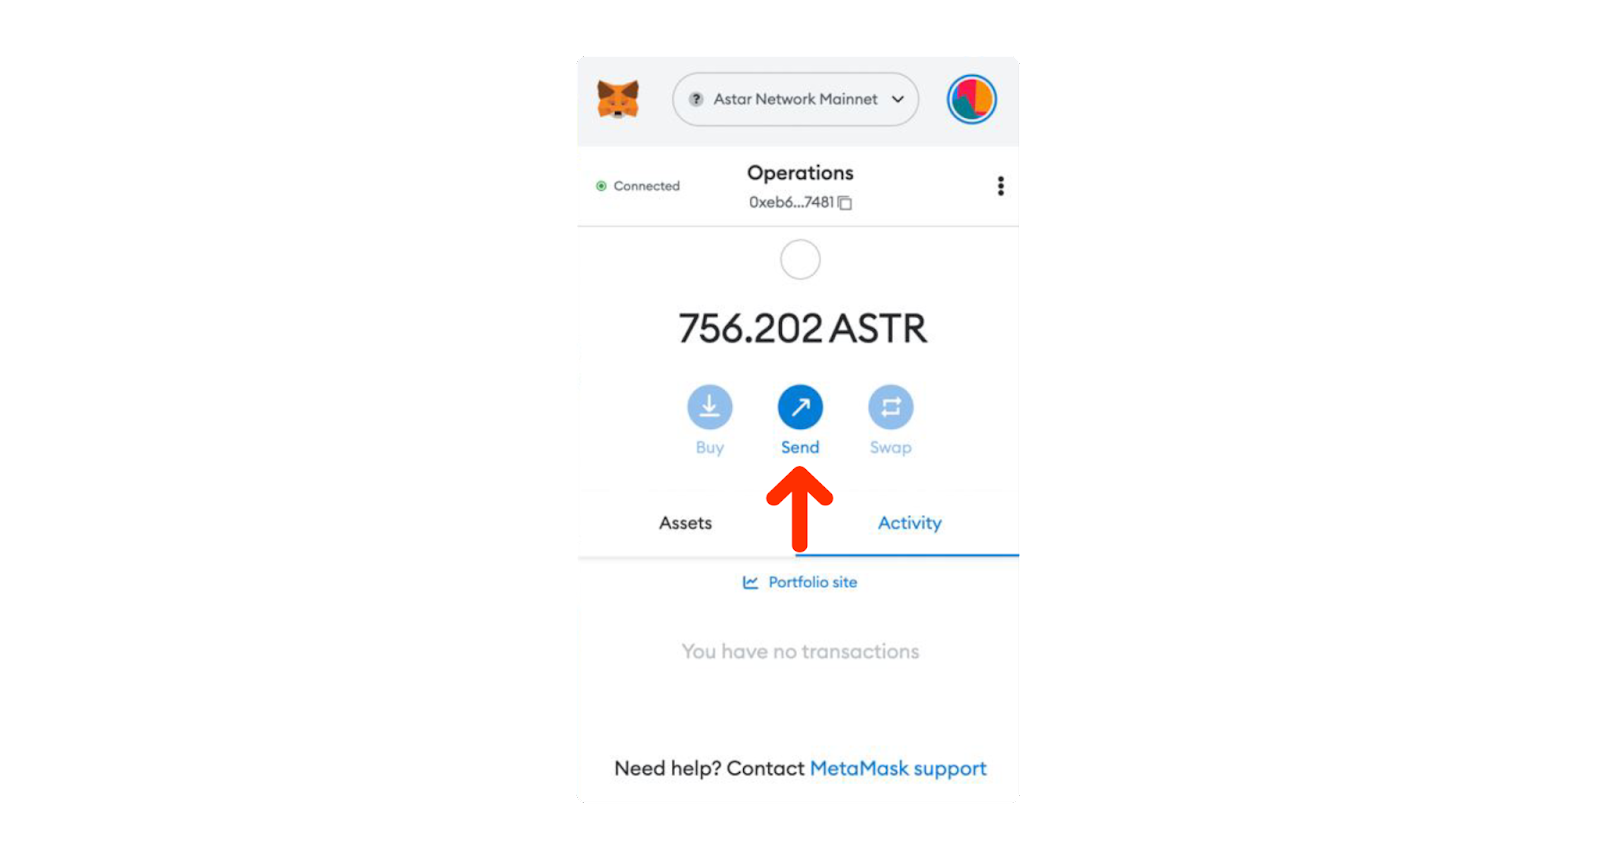
❗️If you have $ASTR on Astar Mainnet in your Metamask wallet, you can send it to any EVM address (including your your own wallen on Astar EVM network) by just clicking <Send> in Metamask.
11. You’re all set to go and join the Astar claim now! Click <Join> on Astar’s claim page.
🔧 You may have a <Wrong wallet> message popping up when trying to Join the claim. It reads <Wrong wallet. Connect the wallet you have verified and use it to sign the transaction>

Try switching between your accounts in your Metamask wallet. You may have verified another account in Metamask (or have another account in active mode at the moment).
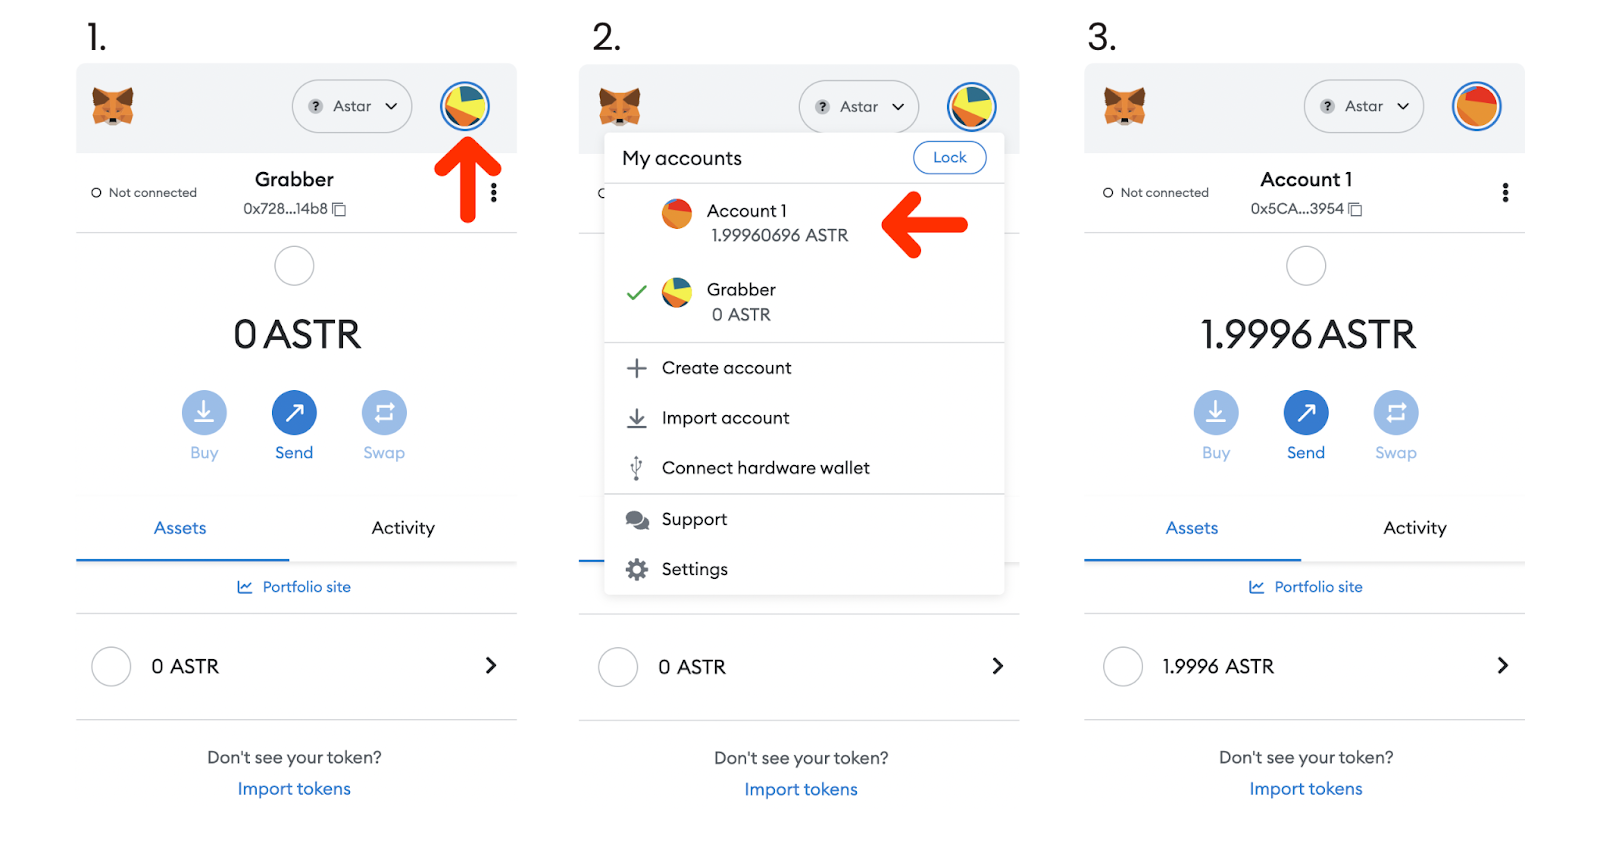
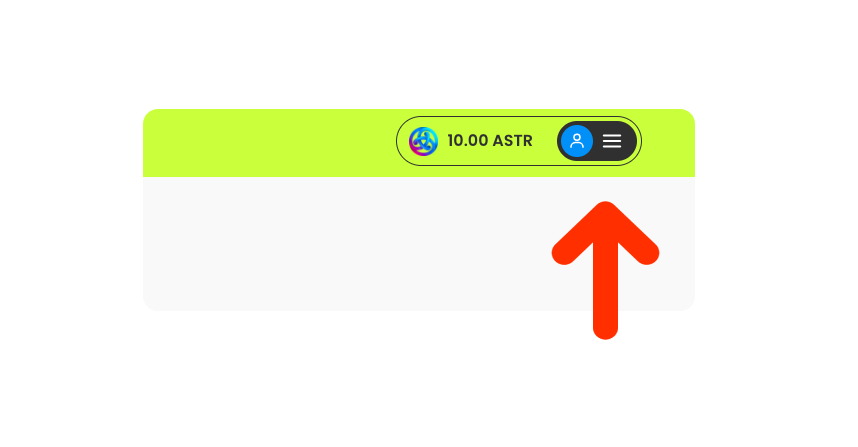
Check your verified wallet in Grabber. It should be the same as your active wallet in Metamask. To check your verified wallet click on your account icon in the top right corner of Grabber’s website and choose <Wallet verification>.
Then open your Metamask wallet and compare wallet addresses as seen on this image.

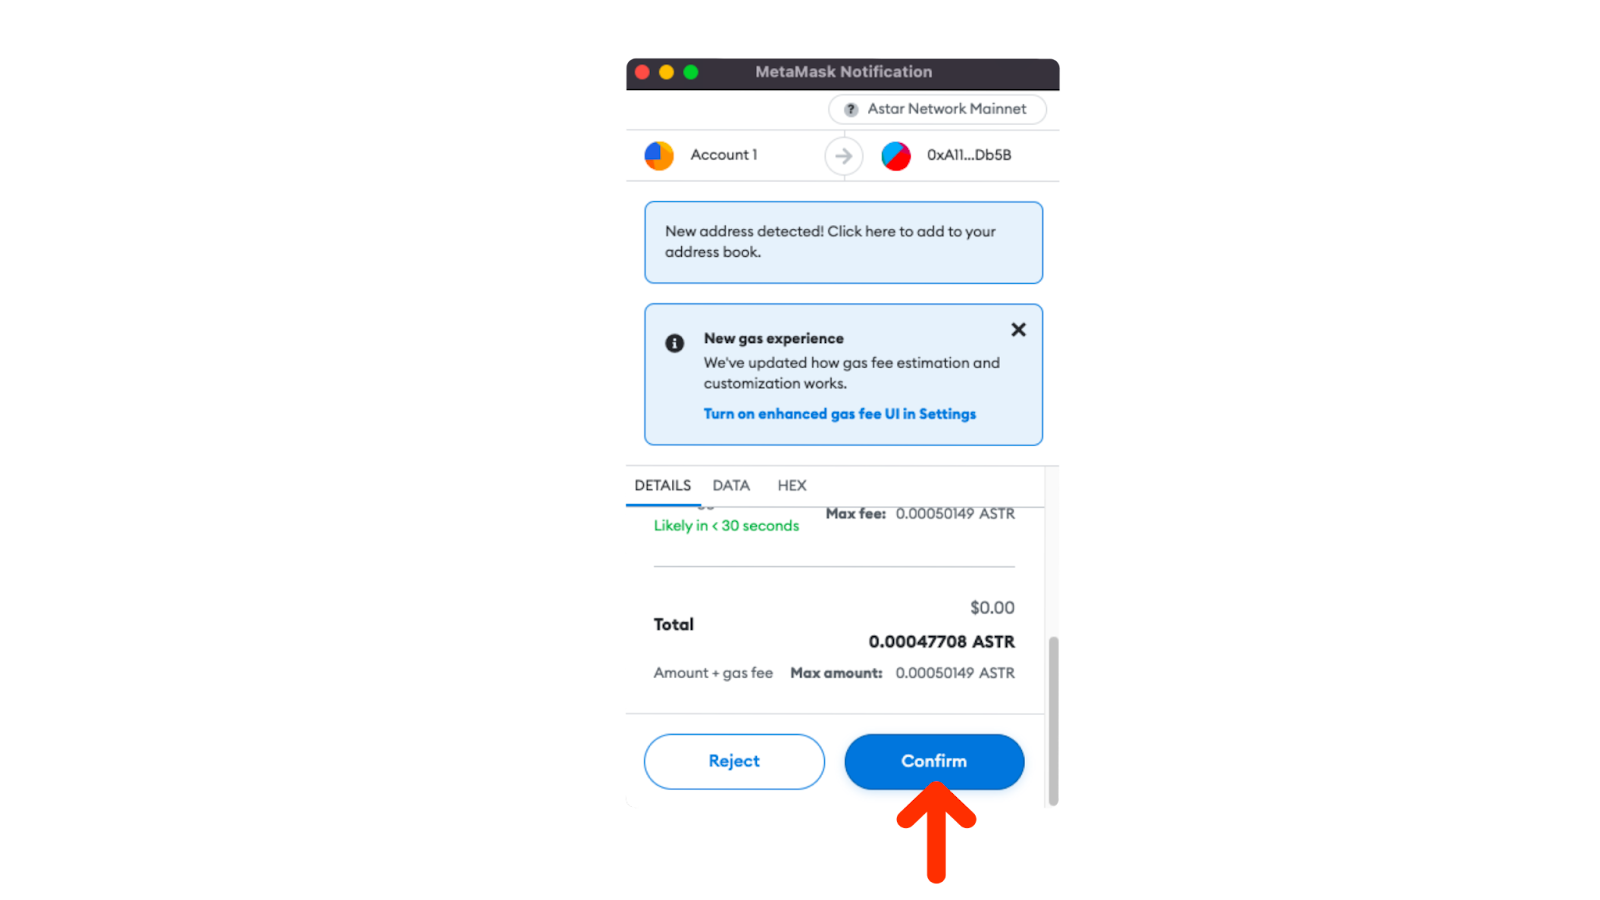
12. You will then be transferred to Metamask and requested to pay a network fee. Click <Confirm>.
12. You’ve made it! Cheers to your successful claim!
Share


